Hi guys, i’ve had a few requests in regards to how i constructed the bag i use to get those nice low angles of butts etc. Well here it is. I’ve tried to explain it as best as i can and i’ll include some pictures ![]()
CREEPSHOT BAG TUTORIAL
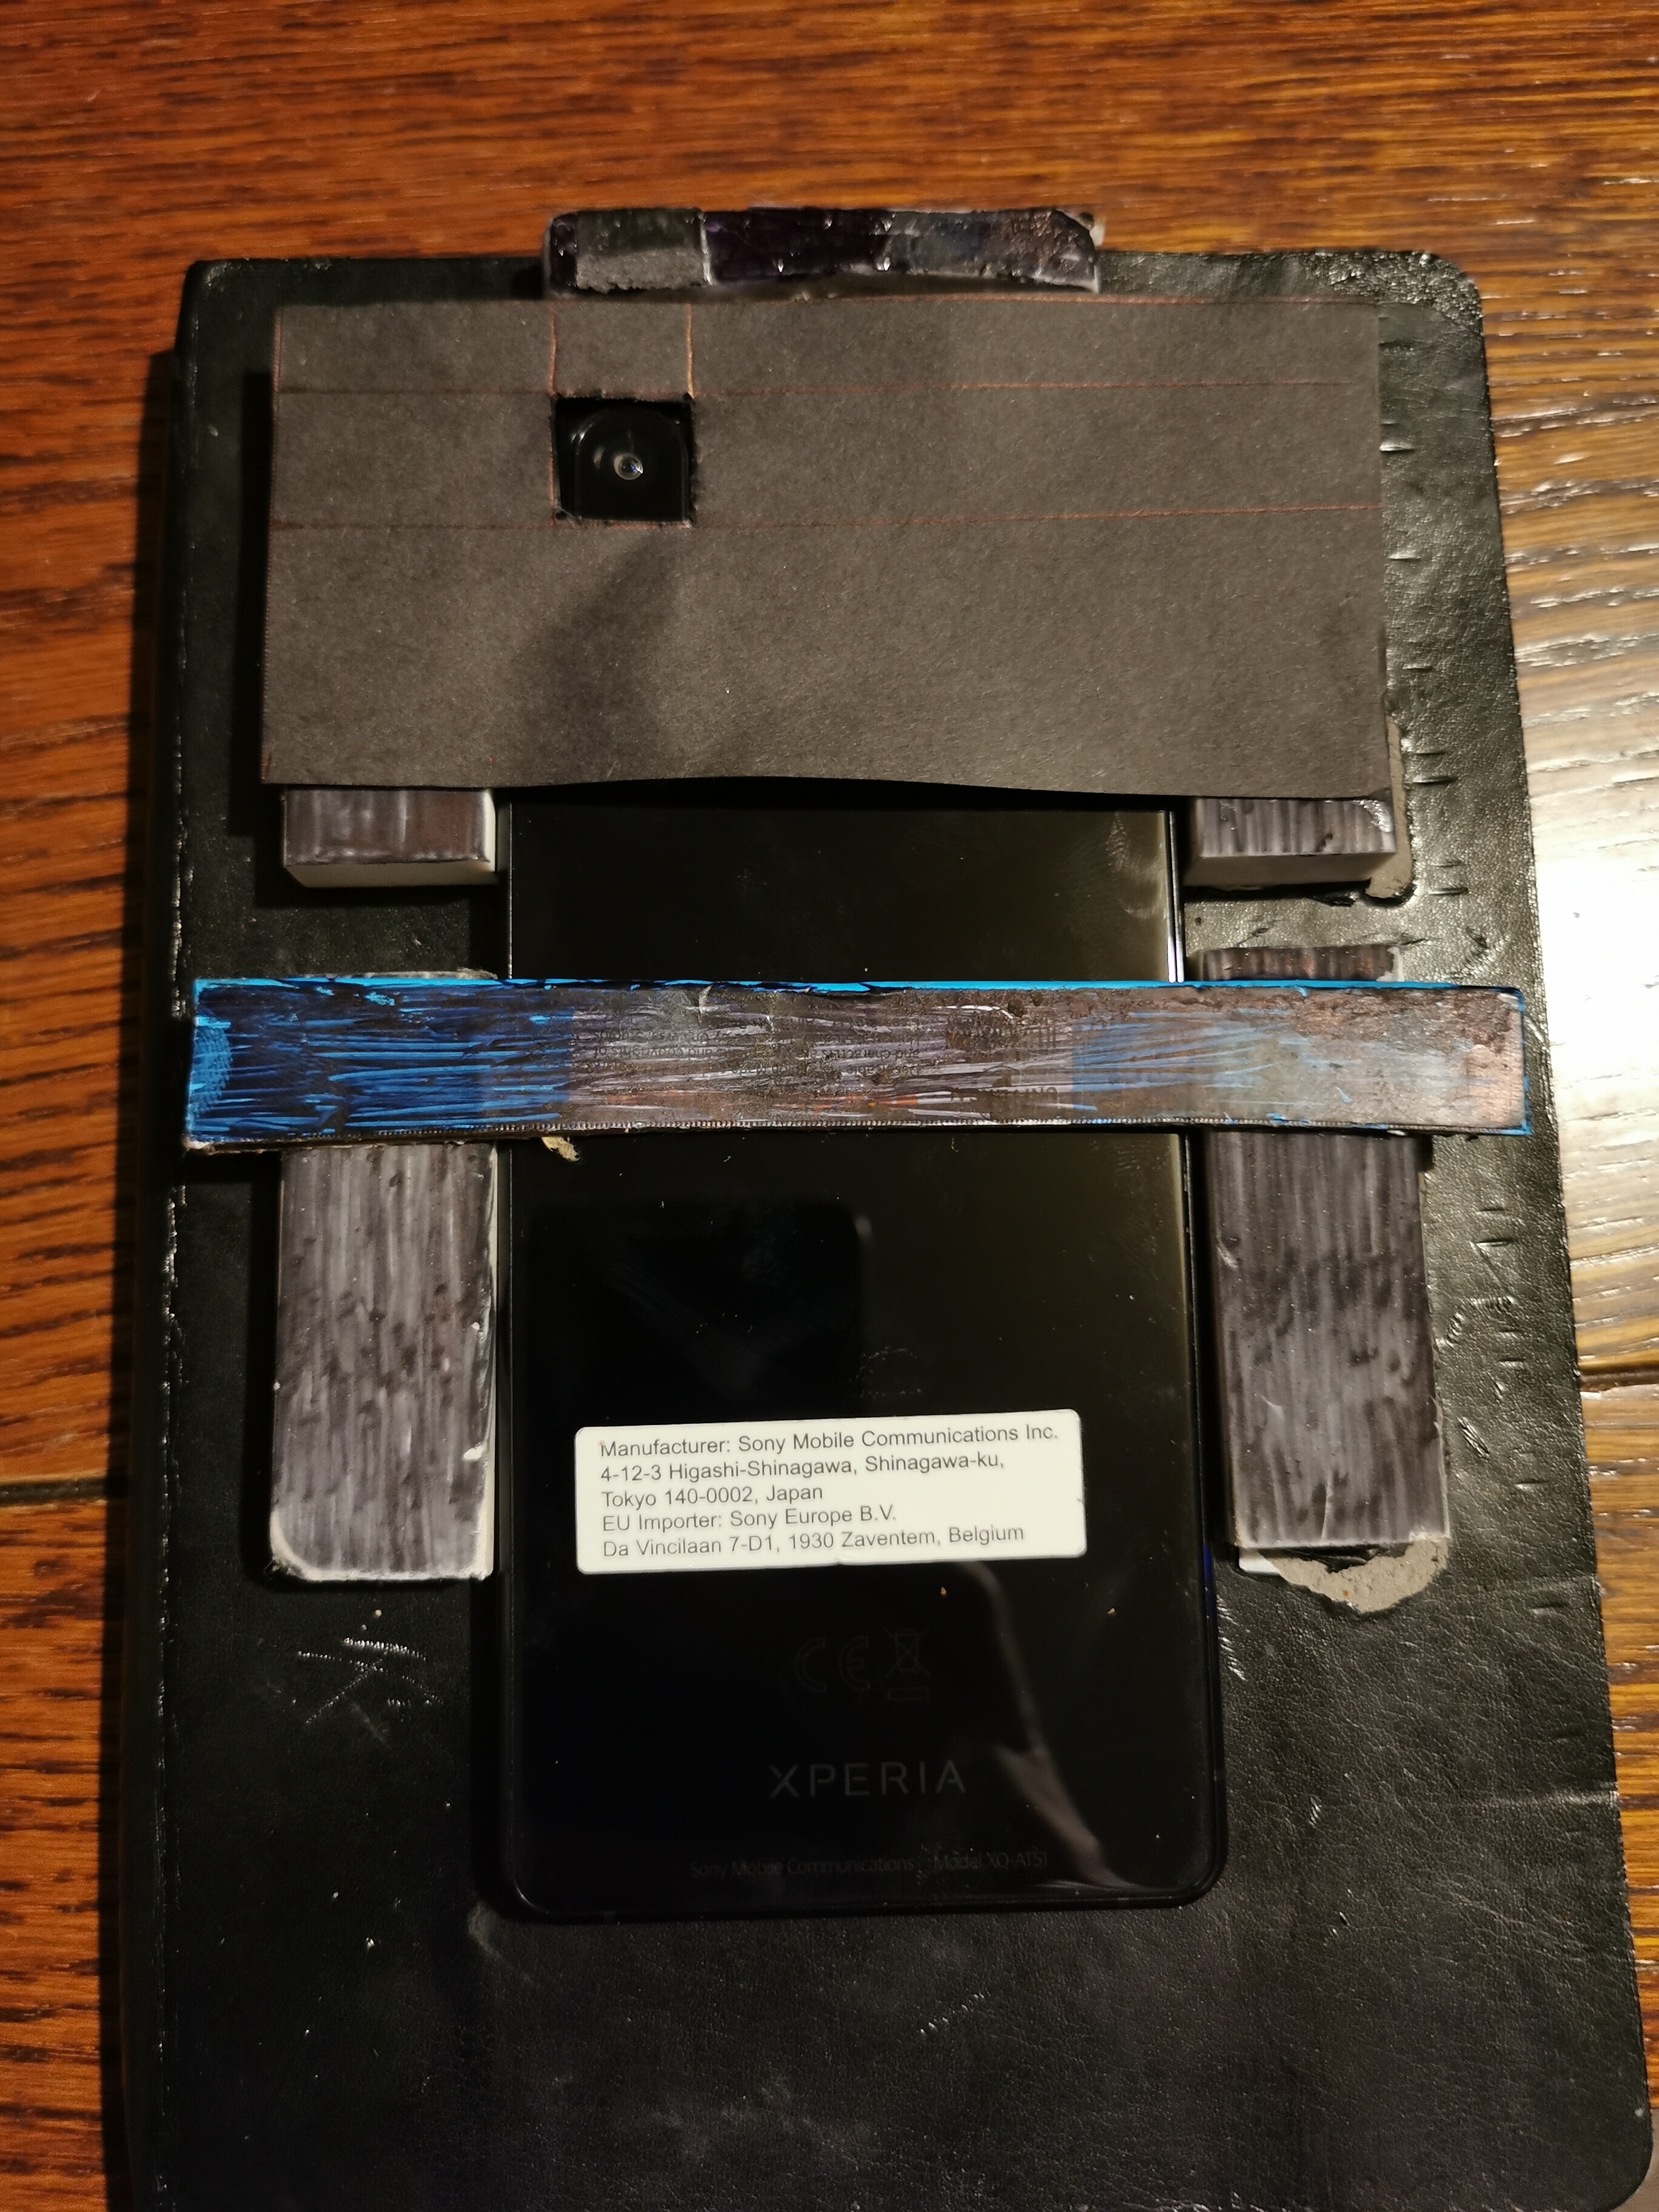
1 - Use a notebook or something similar to place the phone on as a foundation. It’s best if the notebook is quite thick.
2 - Superglue items such as rubbers either side of the phone on the notebook to keep it place and to stop it moving around. Don’t place the rubbers TOO close to the phone so that the phone can easily be inserted and removed. ADDITIONAL: I also use a thin piece of rubber at the head of the phone too. I’m not sure this is even necessary as the phone head is resting against the bag anyway, but i still use it regardless.
3 - Additionally (but not essential), superglue a thick piece of material across the bottom-ish end of the phone to further prevent it from slipping forward. I used a strip cut from a hard material notebook. Superglue it to the rubbers either side of the phone.
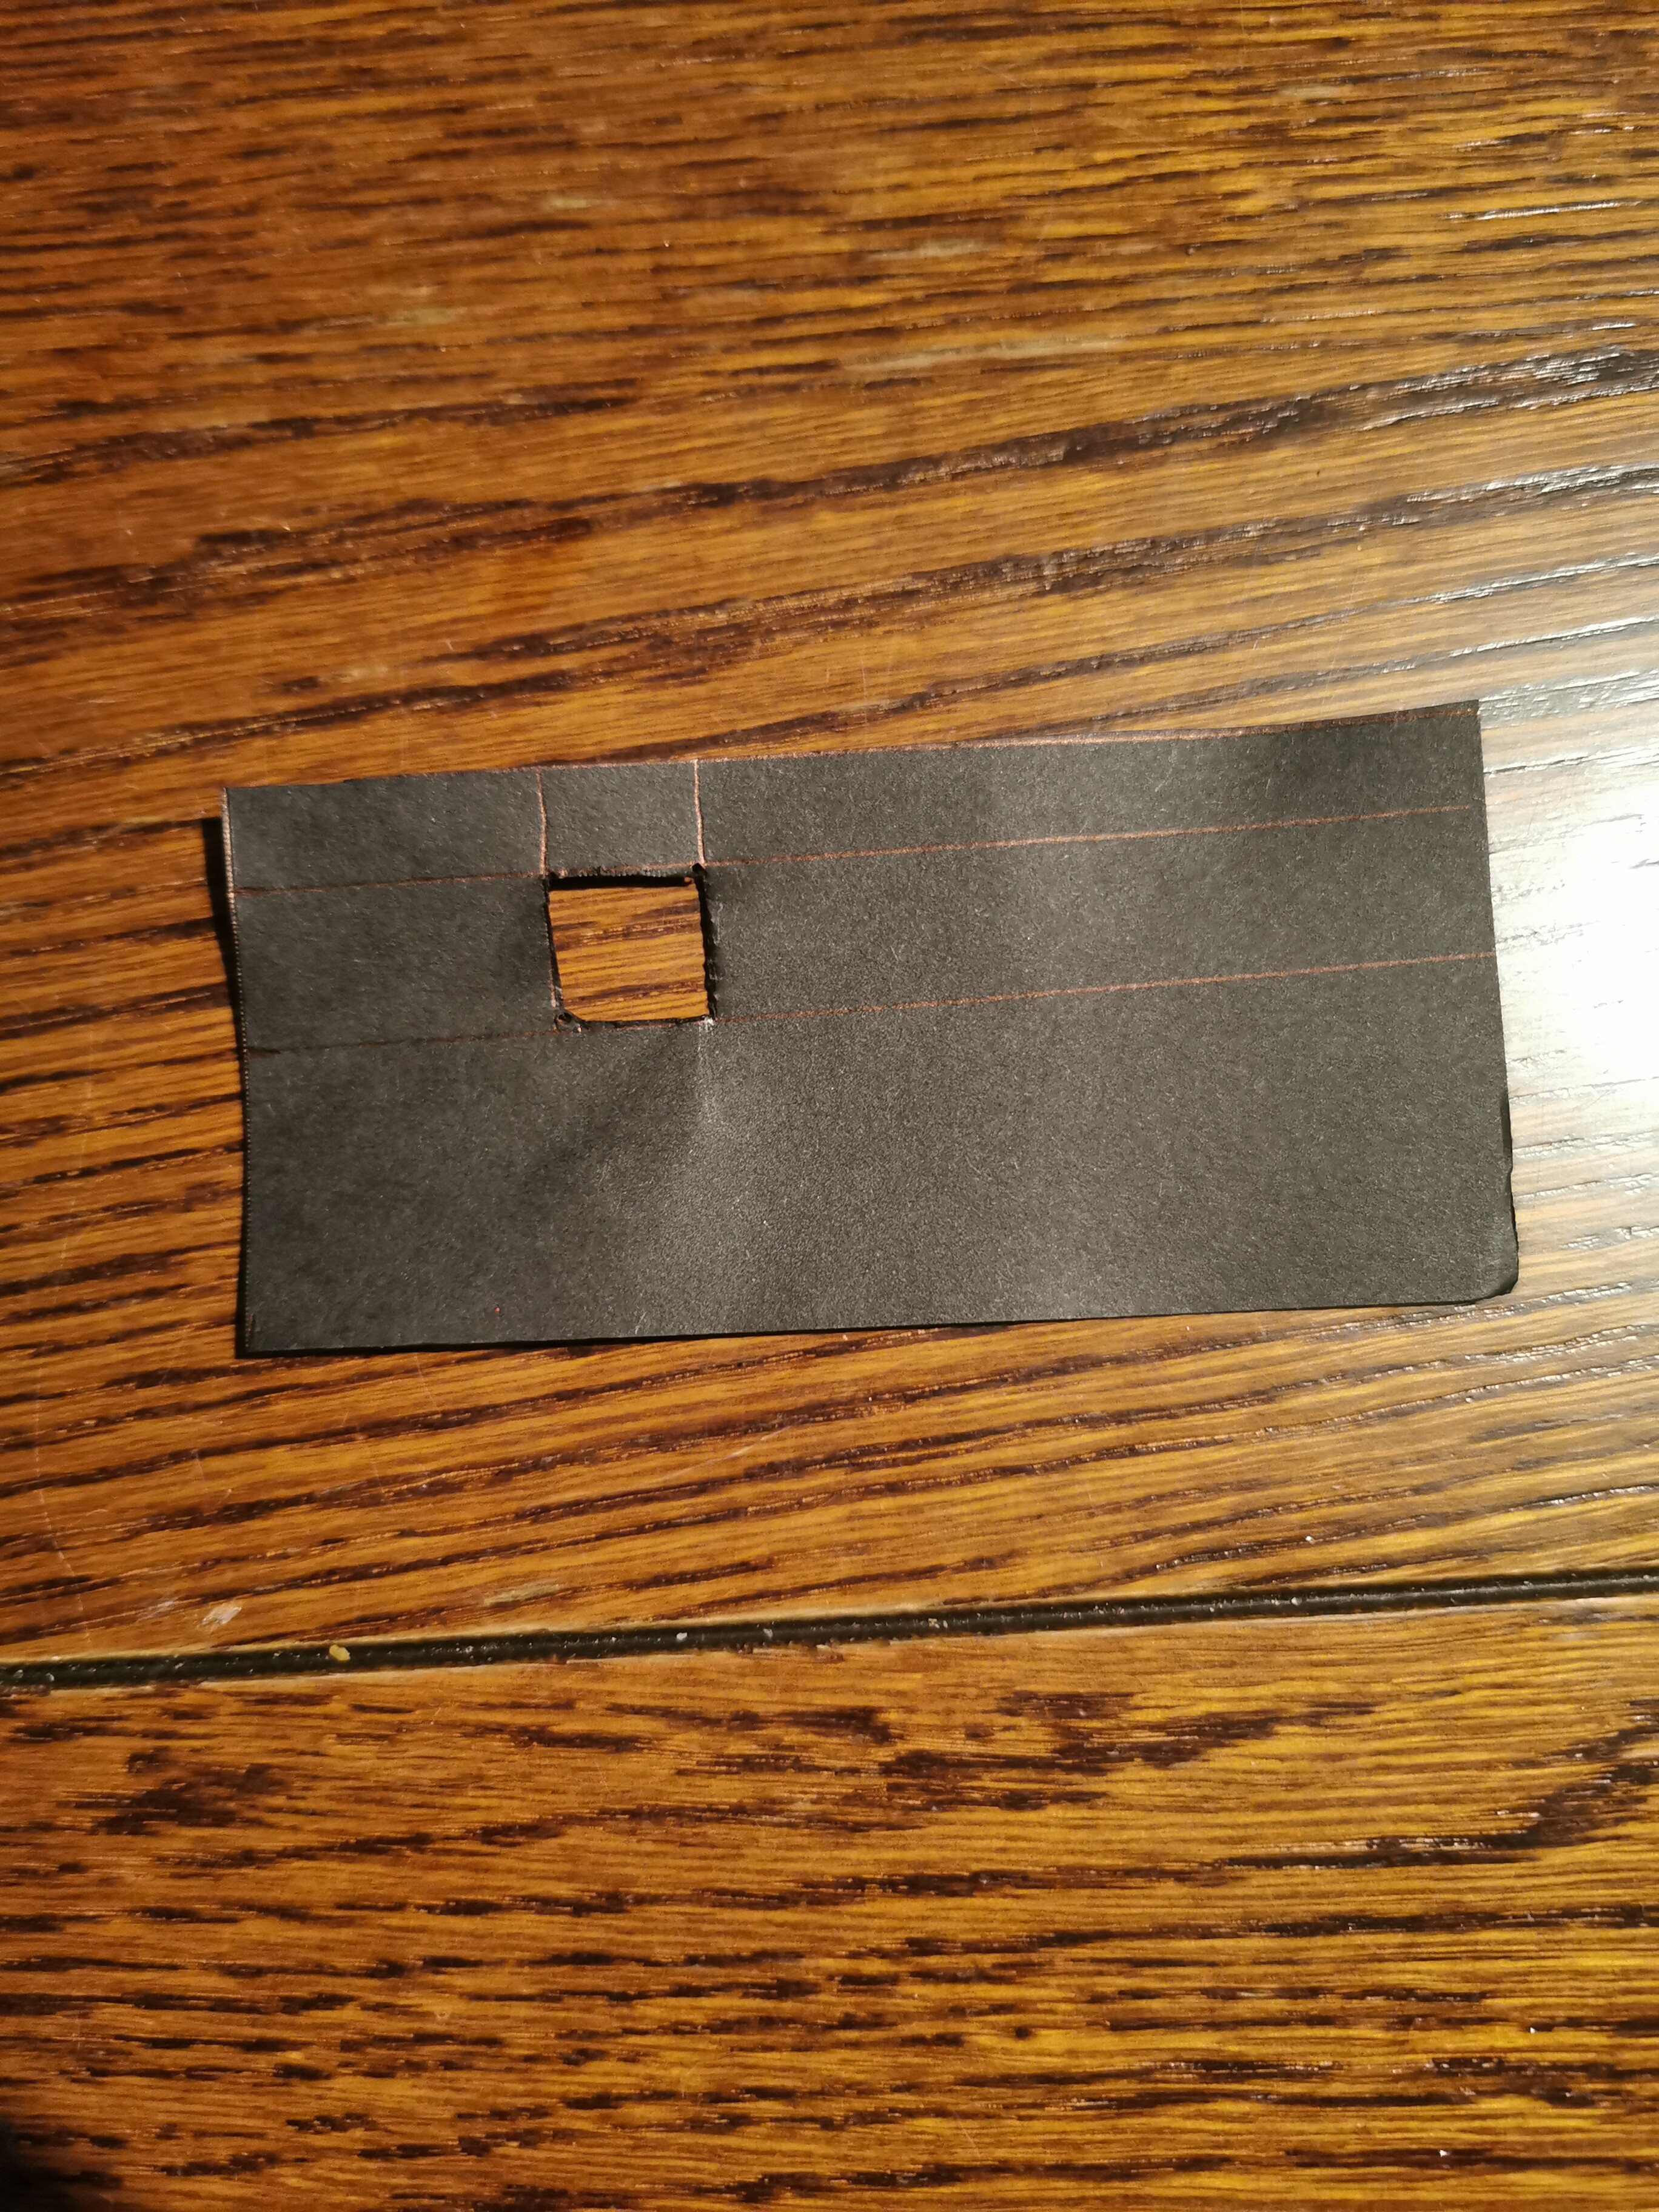
4 - A special cover now needs to be placed over the phone with a hole for the lens so that it can be glued to the inside of the bag. It’s your choice if you want to use the front lens or back lens. Work out where the hole should be cut into the cover (I use a piece of black card, much better to use than normal paper which is a bit flimsy and not as tough). Once done, superglue it to the rubbers either side.
5 - Now place the notebook into the bag of your choice. If you have a black phone, it’s best to use a black bag so it blends in. Put something in the back end of the bag to prop your notebook up at a downwards slanted angle so the lens is pointing upwards at a 45 degree angle. I use a thick jumper. It’s also useful at weighing the bag down so that it doesn’t spin around if you’re walking fast or knock it against your leg or if the wind is blowing it around etc.
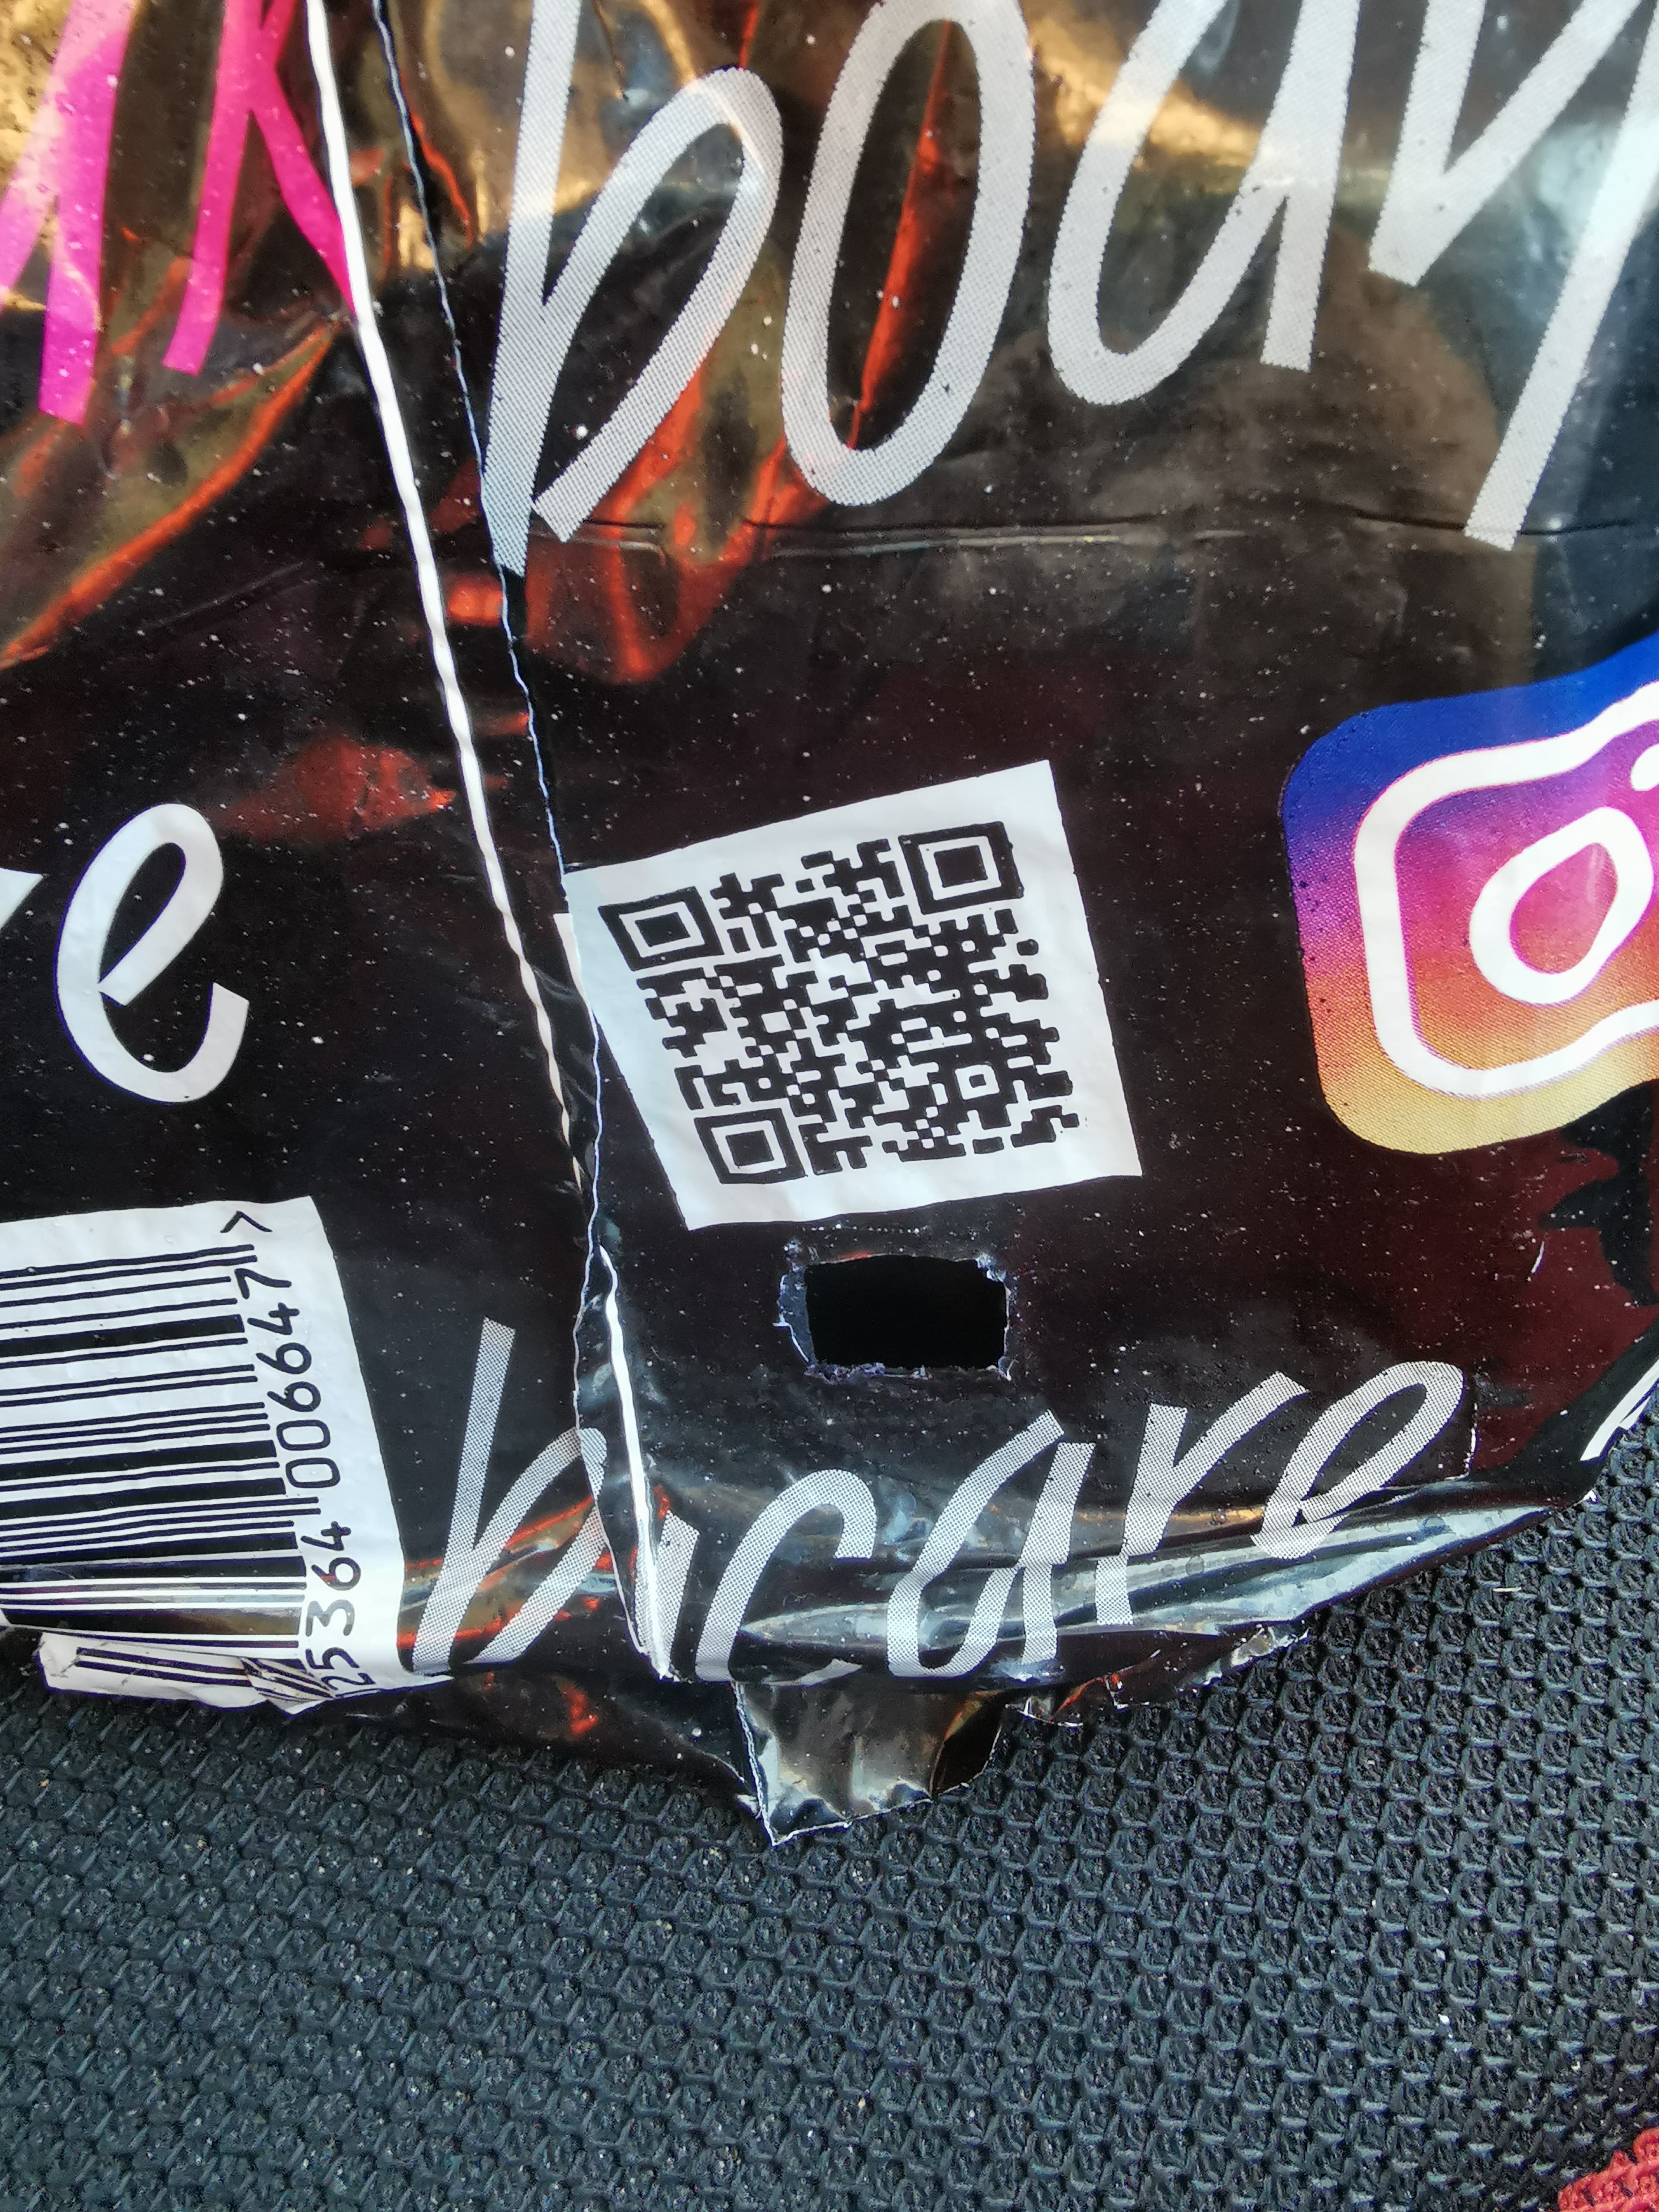
6 - Slightly tricky part. Superglue the black card cover to the inside of the bag. Superglue as much of the area around the lens as you can, pressing down firmly and leave it to dry in place. Obviously don’t have the phone in the bag at this time in case superglue gets on the lens!
7 - Another tricky part but the final bit. With the phone taken out, locate where the hole is for the camera lens. Now you need to cut it out. I find the best method is to use a sharp knitting needle and to poke a hole in each of the 4 corners of the hole. Then I finish the rest by using scissors.
ADDITIONAL NOTES:
To further camouflage the notebook, use a black marker to colour in the rubbers and any other features so it’s less visible to people if they were to look inside the bag. It’s more effective if everything inside the bag matches the actual colour of the bag.
Hope this helps!